TL;DR
Problem: Your toilet seat is cracked, stained, loose, or slides every time someone sits down, and you are not sure a new one will fit.
Solution: Measure the bowl first — bolt spacing and bowl length — then remove the old bolts, clean the mounting area, fit the new seat, and tighten in small turns on each side.
When to call: Call a local specialist if the bolts are corroded solid, the porcelain near the bolt holes is cracked, or the whole bowl rocks, because that points under the base. Call (714) 410-0362 during open hours.
In this guide
A toilet seat does more work than any other part you touch each day. Hinges flex thousands of times, bolts loosen a fraction with every use, and cleaning products slowly attack the finish. In Fountain Valley homes built in the 1960s and 1970s, many original bowls are still in place with seats that have been swapped several times, and each swap gets harder when old metal bolts corrode in the mounting holes. The good news is that seat replacement is one of the most manageable jobs in the bathroom. You do not need to shut off the water. You do not need to lift the toilet. You do need the right size, a little patience with old hardware, and a firm rule about how tight is tight enough on porcelain.
This guide walks through the full job in order: how to measure so the new seat fits the first time, how to remove a seat that has been in place for years, how to fit and align the new one, and how to keep it from working loose again. It also covers the stop points — the signs that the problem is bigger than the seat and a technician should look at the bowl, the flange, or the base seal before you spend time on hardware that will not solve it.
Measure first: round vs elongated
Toilet bowls come in two common shapes. A round bowl is shorter front to back and shows up in smaller bathrooms, hall baths, and many older Fountain Valley tract homes. An elongated bowl is longer, with an oval shape, and is common in primary bathrooms and newer remodels. Seats are made for one shape or the other. A round seat on an elongated bowl leaves porcelain exposed at the front. An elongated seat on a round bowl hangs past the front edge and flexes when someone sits near the front, which cracks hinges early.
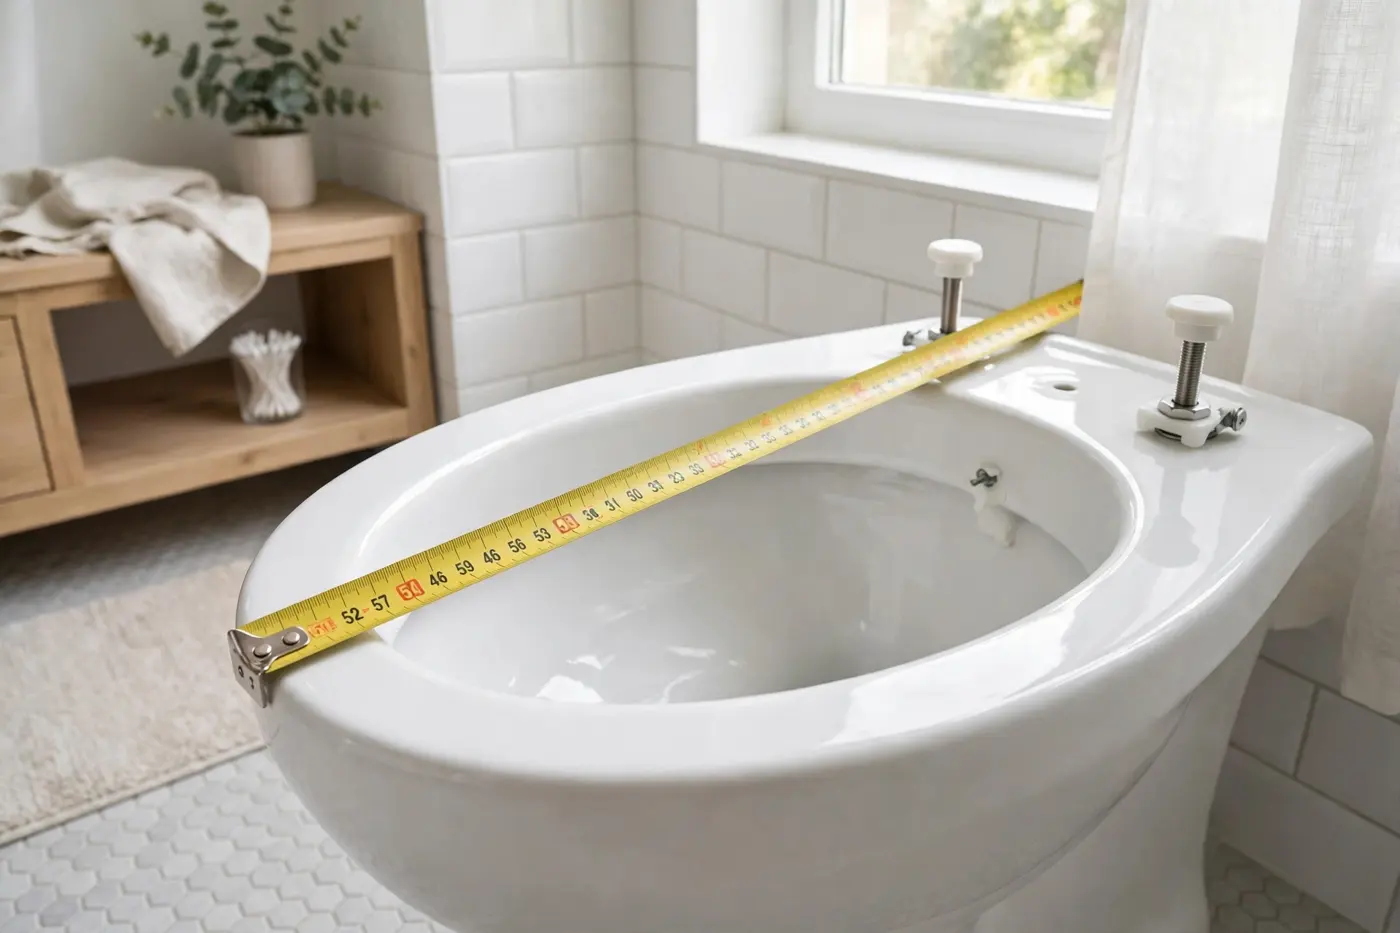
Measuring takes one minute and a tape measure. First, measure the bolt spread: the distance between the centers of the two mounting holes at the back of the bowl. On most toilets in the United States that spread is 5.5 inches, but check anyway, because some older and imported bowls differ, and a seat with the wrong spread will never sit straight. Second, measure the bowl length: put one end of the tape at the midpoint between the two bolt holes and run it to the front outer edge of the bowl. About 16.5 inches means a round bowl. About 18.5 inches means an elongated bowl. Third, if you are keeping any measurement for width, note the widest point of the bowl as well, since a few compact bowls are narrower than standard and a wide seat can overhang the sides.
Write all three numbers down and take them with you, or keep them in your phone if you order the seat. Also look at the hinge style on your current seat. Some seats use bolts that pass through the bowl with nuts underneath. Others use expanding anchors or top-mount fittings that tighten from above, which are handy when the underside of the bowl rim is hard to reach, as it is on skirted bowls where the sides run smooth to the floor. Knowing which style you have tells you which tools to lay out before you start.
Tools and parts to gather
You need very little: a flat screwdriver, an adjustable wrench or a pair of pliers, a tape measure, rubber gloves, an old towel, and a small brush for cleaning the mounting area once the old seat is off. A drop of rust-loosening oil helps with corroded metal bolts. If your new seat uses plastic bolts and nuts, which most do now, hand tools alone are enough and there is less risk of cracking porcelain with excess force. Lay the towel on the floor beside the toilet so removed parts have a place to land, and keep the new seat in its packaging until the bowl is clean, so the fresh finish does not pick up grit from the work area.
Step-by-step seat replacement
Close the lid and find the bolt caps
Put the seat and lid down. At the back of the seat, each hinge has a small cap that covers the bolt head. Pop each cap open with a flat screwdriver. Some caps flip up on a tiny hinge; others lift off fully. If a cap will not move, slide the blade under its front edge and lift gently rather than prying hard, because old plastic caps snap when forced.
Hold the nut below and unscrew the bolt
Reach under the bowl rim and hold the nut with pliers or a wrench so it cannot spin. Then turn the bolt from above with the screwdriver. Work one side, then the other. Plastic nuts usually turn by hand once they break loose. If the whole bolt spins with the nut, grip the exposed threads under the bowl with pliers while you turn the top. Keep downward pressure light — the bolt hole sits in porcelain, and side force is what chips it.
Lift off the old seat and clean the mounting area
With both bolts out, lift the seat straight up and set it aside on the towel. Now clean the flat area around the bolt holes. Years of moisture leave a ring of grime and mineral crust there, and a new seat fitted over that crust will rock on the high spots and loosen fast. Scrub with the brush, wipe dry, and check the porcelain around each hole for hairline cracks. A crack at a bolt hole changes the job — see the stop points below before you fit anything new.
Set the new seat and start both bolts by hand
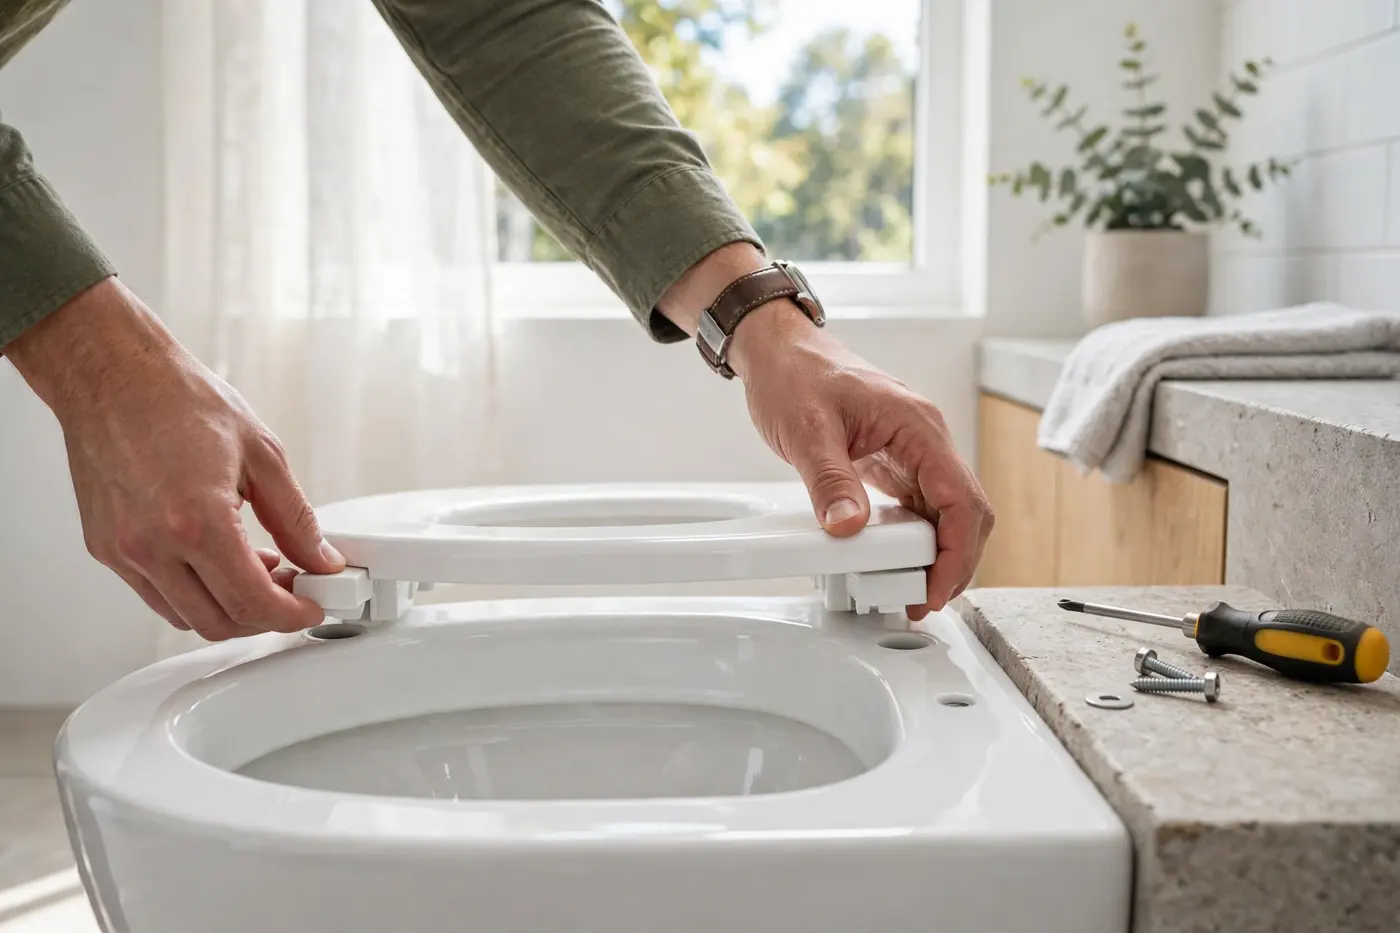
Place the new seat on the bowl and line the hinges up with the holes. Drop both bolts through and start each nut by hand from below. Do not tighten either side yet. Starting both by hand first lets you shift the seat into alignment in the next step. If your seat uses top-mount anchors, push the anchors into the holes and start the screws from above instead, again leaving them loose for now.
Align the seat with the bowl edge
Close the seat and lid. Look down from above: the seat edge should follow the bowl edge evenly on both sides, with the same small reveal of porcelain all the way around. Nudge the seat left or right and forward or back until it tracks the bowl shape. This alignment step is the one most people skip, and it is why many new seats look slightly crooked or slide toward one side. Take ten seconds here and the seat will feel solid for years.
Tighten in small turns, side to side
Hold each nut below and tighten the bolts in small turns, switching sides as you go, the same way you would tighten lugs on a wheel. Stop when the seat no longer shifts when you push it sideways with firm hand pressure. Snug is the goal. Cranking down with full force can crack the porcelain at the bolt hole or snap a plastic bolt, and neither problem shows up until later. Close the bolt caps when both sides are firm.
Test the seat through a full day of normal use
Sit on the closed lid, then on the seat. Raise and lower it several times. A soft-close hinge should lower the lid in a slow, even motion with no drop at the end. Check again after a day of household use and give each bolt a final small turn if the seat has settled. New plastic hardware often seats itself during the first few uses, and that one follow-up check keeps it tight long term.
When bolts will not budge
Corrosion is the main fight in this job. Fountain Valley water carries minerals that crust threads over time, and metal bolt sets from older installs can fuse to their nuts. Start with rust-loosening oil on the threads under the bowl and give it fifteen minutes to work. Hold the nut firmly and turn the bolt with steady pressure rather than sharp jerks. If a plastic nut spins without gripping, squeeze it gently with pliers to give the bolt something to turn against, or cut it away with a small hacksaw blade worked carefully under the rim. Protect the porcelain with a strip of cardboard wherever a blade or wrench might slip against it.
Stop point: if a metal bolt is fused solid and the force needed starts to flex the bowl or creak the porcelain, stop. A cracked bolt hole or a chipped mounting flat turns a seat swap into a bowl problem. That is the moment to call for toilet seat replacement help, where a technician can cut the hardware with the right tools and check the bowl before fitting the new seat.
Getting the fit and alignment right
Beyond shape and bolt spread, think about how the seat will be used. Seat height is set by the bowl, not the seat, but seat thickness adds a small amount, and thicker cushioned styles add more — worth knowing if a household member transfers from a wheelchair or has limited mobility. Soft-close hinges are the most requested upgrade we hear about, because they end lid slamming, which matters in homes with kids and in bathrooms with hard tile that makes every bang echo. Quick-release hinges are another practical choice: the seat lifts off its posts with a button press, so you can clean the mounting area fully instead of working around the hinges. If your bathroom has a bidet attachment fitted under the seat hinges, confirm the new seat's hinge posts match the attachment's mounting plate, since stacked fittings change the bolt length you need.
Material matters less than fit, but it is worth a thought. Molded wood seats feel solid and warm, and their enamel finish holds up well until it chips, after which the core absorbs moisture. Solid plastic seats are lighter, shrug off cleaning products, and flex less at the hinges on elongated bowls. Either way, match the color to the bowl — white shades differ more than people expect, and a bright white seat on an older biscuit or almond bowl will look mismatched every single day.
Keeping the new seat tight and clean
Most seats that loosen do so in the first month, which is why the follow-up check in the last step matters. After that, a quick bolt check twice a year keeps things firm. Clean the seat and hinges with mild soap and a soft cloth. Harsh scouring powders and strong bleach sprays dull the finish and attack hinge plastic over time, and spraying cleaner so it pools around the bolt holes speeds up corrosion on any metal hardware below. If a hinge starts to creak, a tiny drop of silicone lubricant on the hinge pin quiets it without staining.
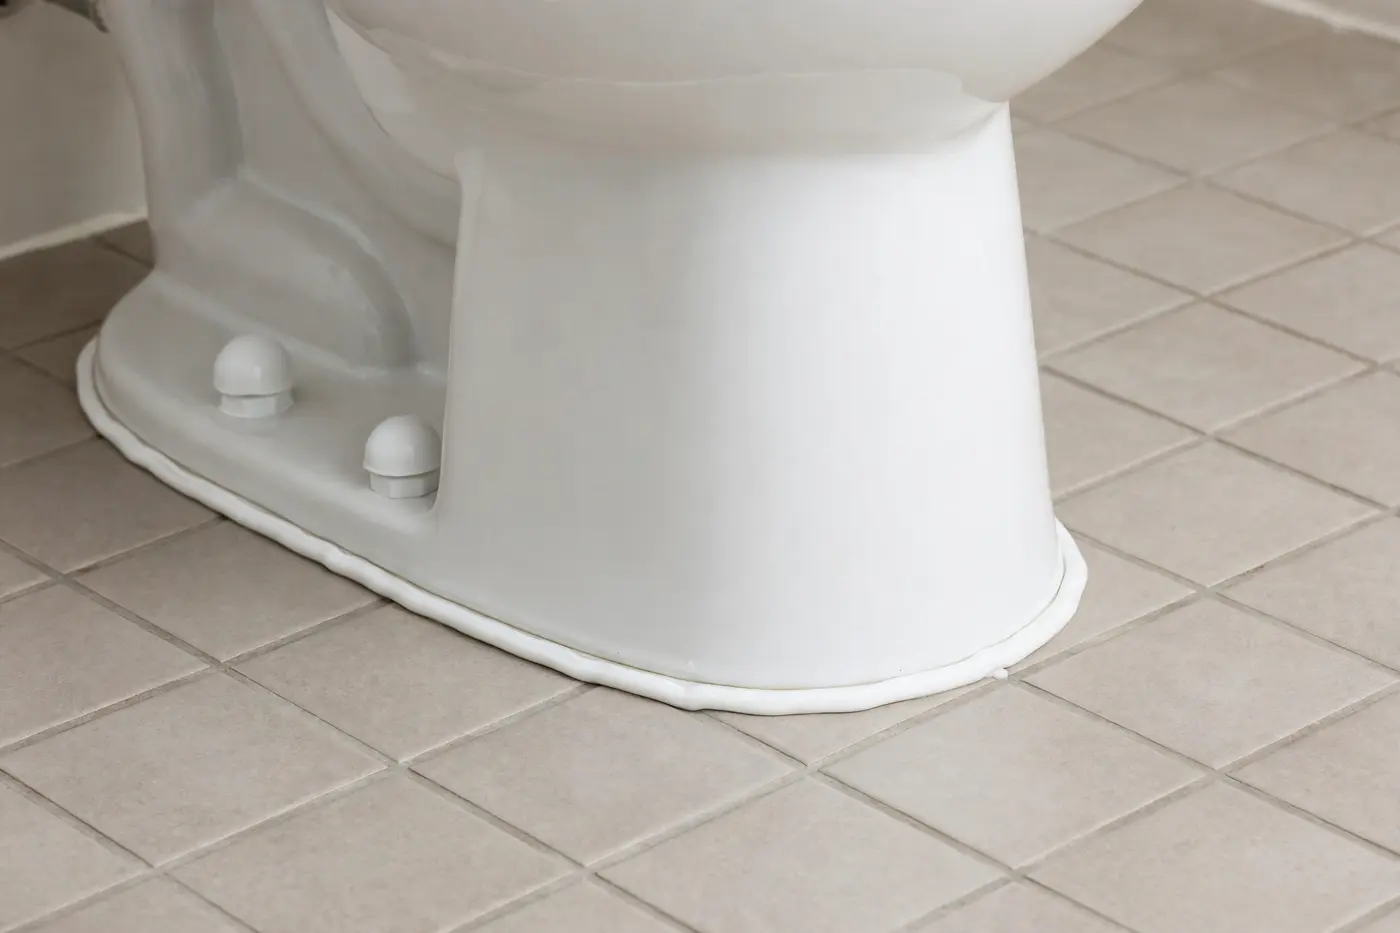
Finally, know the difference between a seat problem and a toilet problem. A seat that slides after proper tightening, a bowl that rocks at the floor, a stain spreading on the floor around the base, or a sewer smell near the toilet are not seat faults — they point to the flange, the base seal, or the bowl itself. Our guide to fixing a wobbly toilet explains the base side of it, and the areas we serve page shows where our connected technicians work across Fountain Valley and nearby cities.
Questions about replacing a toilet seat
How do I know if my toilet seat is round or elongated?
Measure from the center of the seat bolt holes to the front edge of the bowl. A round bowl measures about 16.5 inches and an elongated bowl measures about 18.5 inches. Write the number down before you shop, because the two shapes use different seats and the wrong shape will overhang or leave a gap at the front.
What should I do if the toilet seat bolts will not come loose?
Hold the nut under the bowl rim with pliers while you turn the bolt from above, and add a drop of rust-loosening oil if the threads are corroded. Plastic nuts can be cut with a small hacksaw blade if they spin and will not grip. If a metal bolt is fused solid and force risks cracking the porcelain, stop and call a technician.
Why does my new toilet seat slide side to side?
Side movement usually means the bolts are not snug, the bolt holes in the new hinges do not match the bowl spacing, or the small rubber pads under the hinges are missing. Loosen both bolts, center the seat so it lines up with the bowl edge, then tighten each side a little at a time until the seat sits firm without strain on the porcelain.
Are soft-close toilet seats worth fitting during a seat replacement?
A soft-close hinge lowers the lid slowly, which cuts down on slamming noise and reduces stress on the hinge posts. The fitting steps are the same as a standard seat, and the hinge size is the main thing to match to your bowl. Many Fountain Valley households choose soft-close when the old lid has been banging shut on tile floors.
When should I call for toilet seat replacement help instead of doing it myself?
Call if the mounting bolts are corroded solid, the porcelain around the bolt holes is cracked, or the bowl itself rocks when you sit down, because rocking points to a flange or seal problem under the base rather than a seat problem. A technician checks the bolt holes, the flange and the base seal first, and the scope is confirmed with you before any work starts.