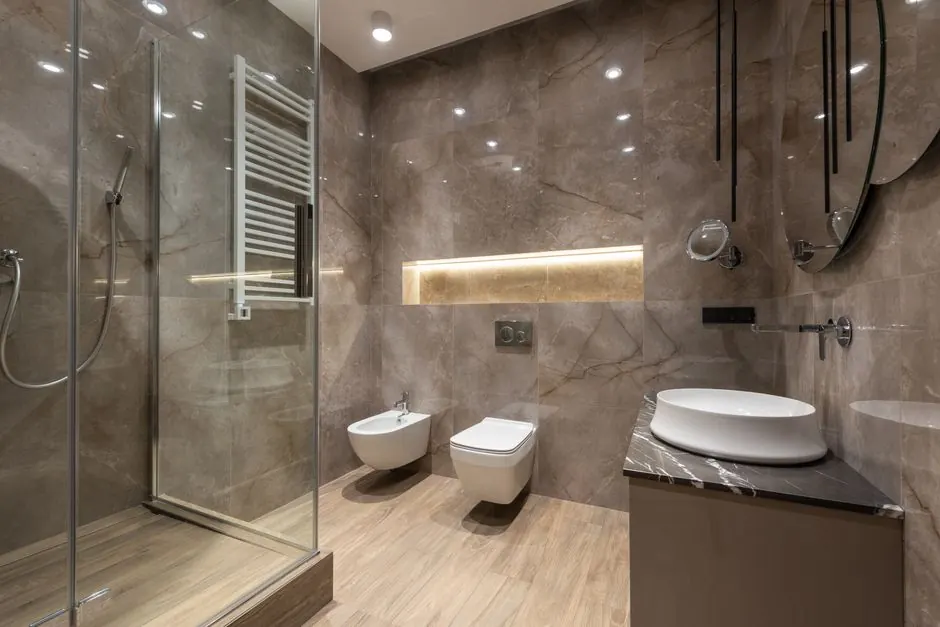
Toilet Installation in Fountain Valley, CA
📞 Call Now — (714) 410-0362A toilet installation sets a new toilet on a checked flange at the right height, seals it solid with no rock, connects the water, and proves the work with repeat flush tests.
Installing a toilet where the details decide everything
A replacement swaps one working setup for another. An installation starts closer to zero: a new bathroom, a remodeled room, or a space where the old toilet came out during other work. The flange, the floor height, and the rough-in all have to be proven before the toilet goes down.
In a newly built bathroom or an addition, the plumbing has been roughed in and capped, the floor is newly finished, and the toilet is often the last fixture to go in. Nothing has been tested under a real fixture yet. The flange height was set against a floor that may have gained tile and thinset since, and the shut-off valve has never fed a toilet. A careful installation checks all of it in order, because finding a height problem after the toilet is set means lifting it and starting the seal over.
In a remodel, the questions are different. The old toilet is out, the floor may be new, and the flange has a history: it may sit lower than it did once a thicker floor went in, or it may be cracked from the removal itself. Owners often find the flange for the first time during a remodel and have no idea what a healthy one looks like. That is fine — reading a flange is the technician's job, and the remodel stage is the easiest stage to fix one.
- New bathrooms and additions where a toilet goes in for the first time
- Remodels where the floor height changed under the old flange
- Garage, studio, and guest-space bathrooms being finished out
- Swaps from an old floor-outlet setup that need a careful first fit
- Bathrooms where the toilet was removed for flooring or other work
Timing inside a remodel matters. The toilet goes in after the finished floor — never before it. Setting a toilet and then tiling around it buries the base edge, throws the flange height off, and turns any future removal into demolition. If your flooring is still going down, the install call belongs after the floor is complete and cured, and a good technician will say so on the phone rather than set a toilet that has to come back up.
Water supply is the other hidden detail. A new or long-dormant shut-off valve can weep the first time it is opened, and a supply line that has sat dry can have washers that no longer seal. Both are simple to handle during the install, with the floor protected and the parts on hand — and both are miserable to discover a week later from a damp cabinet or a stained ceiling. The install visit pressure-tests the whole chain: valve, line, fill valve, tank, seal, and flush.
Done right, an installation is the quietest job in the bathroom. The toilet goes down once, sits solid, flushes hard, and asks for nothing but a seat and normal cleaning for years.
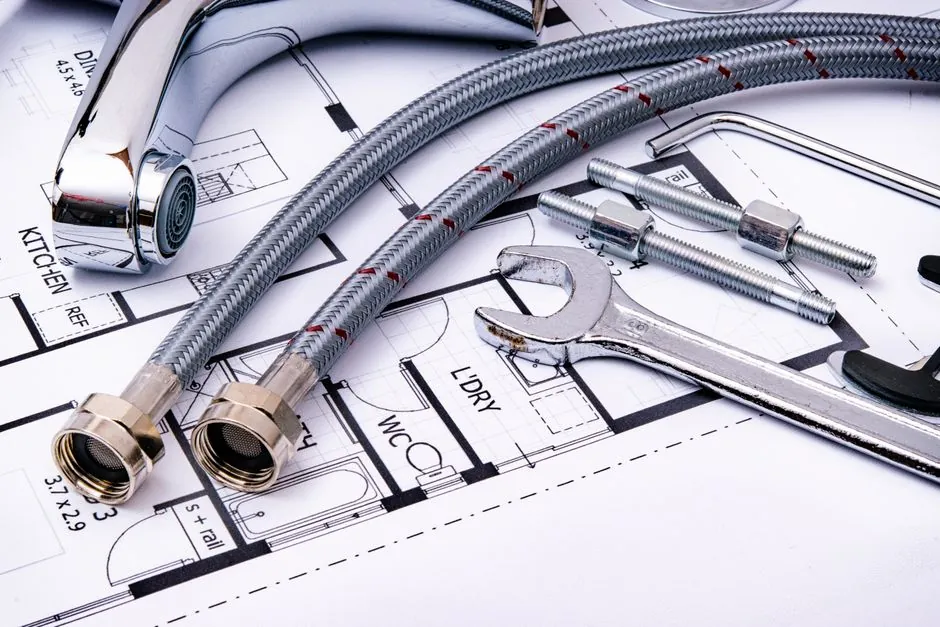
From bare flange to a finished, tested toilet
The middle step of every good installation is the flange check. It takes minutes, and it decides whether the toilet stays dry for a decade or leaks in its first year.
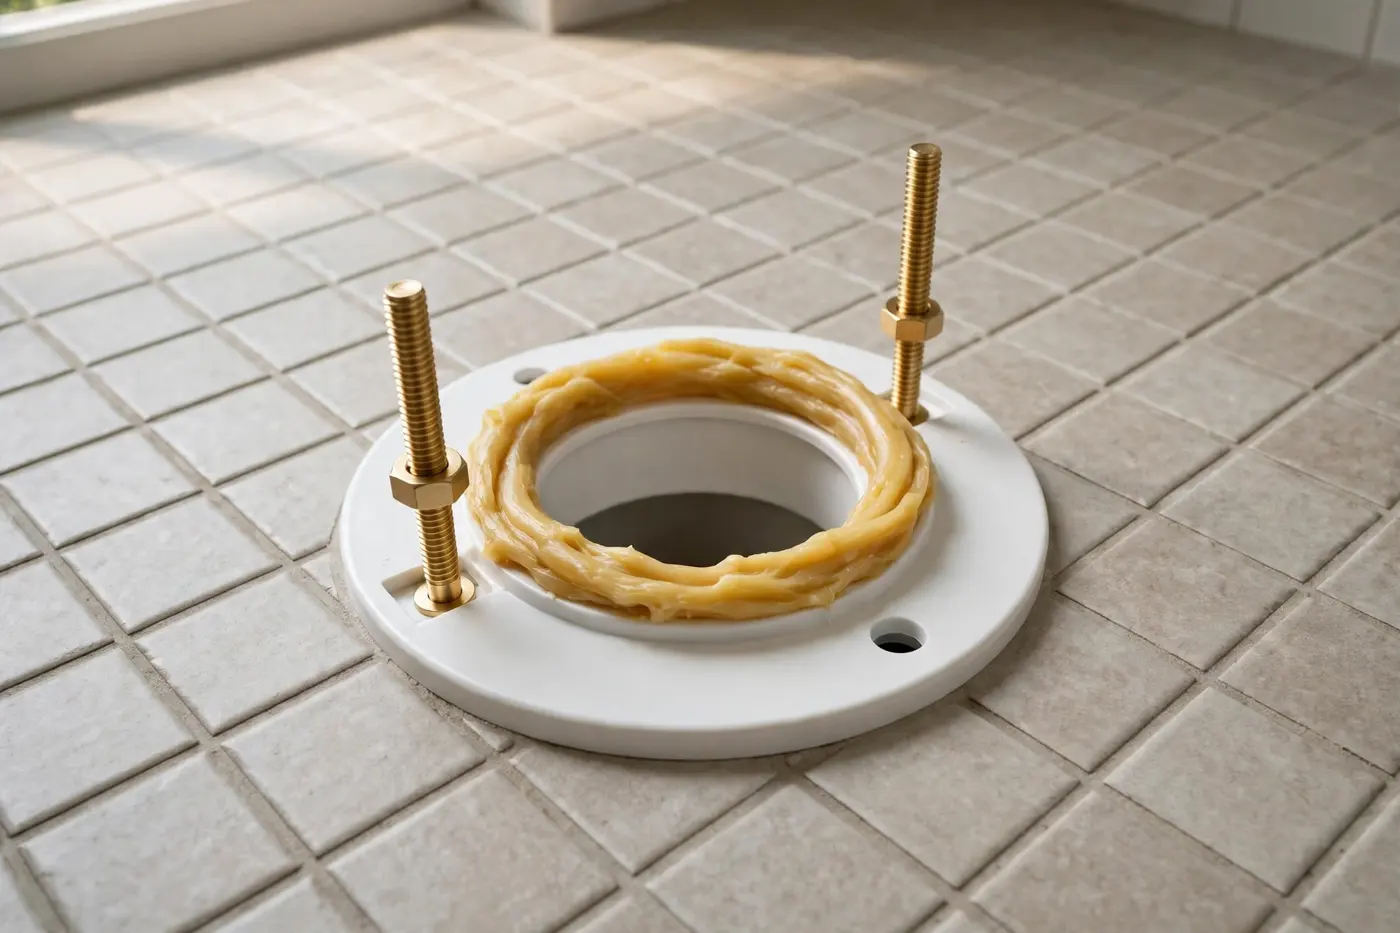
A bare drain flange and a finished floor, with no toilet yet. If the flange height is wrong for the new floor, or the rough-in does not match the toilet, setting the fixture now builds a leak and a rock into the bathroom from day one.
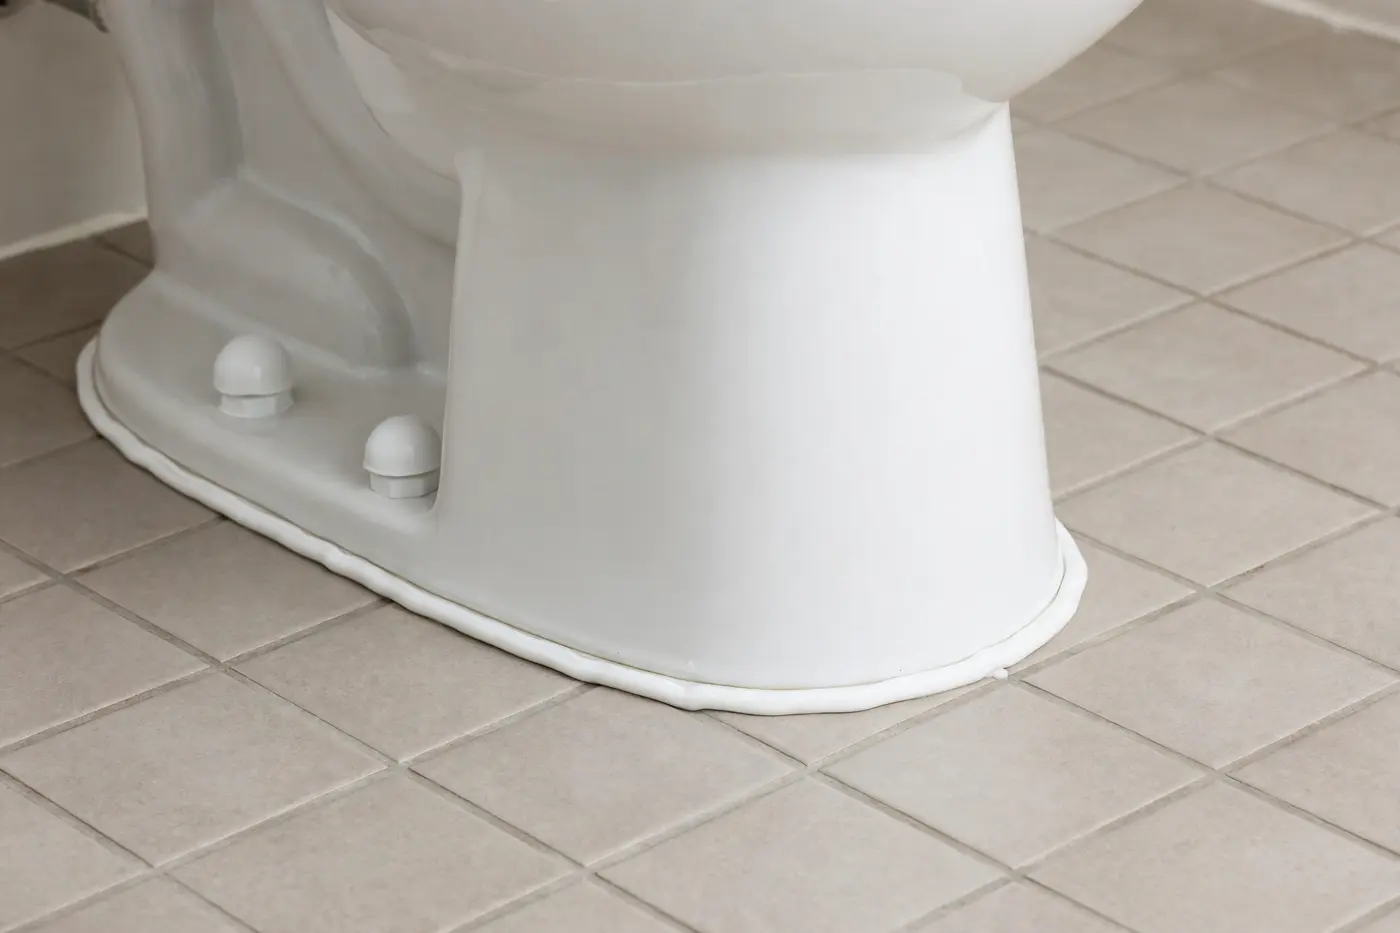
The flange is measured, corrected if needed, and the toilet is set on a fresh seal, level and still. The base sits clean against the floor, the tank fills and shuts off at its line, and repeat flushes leave every connection dry.
That clean base line is not just looks. A toilet that sits flat and still keeps its seal compressed evenly all the way around, which is exactly what a wax or silicone seal needs to hold for the long term.
How a toilet installation visit works
One call connects you with a local toilet specialist. Here is the install, step by step.
Step 1 — The call and the bathroom details
You call (714) 410-0362 during open hours and describe the project: new bathroom, remodel, or a toilet that came out for flooring. Share the floor type, whether the new toilet is already in the home, and its rough-in if you know it. Those details let the technician plan the visit and bring the right flange and seal parts.
Step 2 — Checking the rough-in and flange
The technician measures the rough-in from the finished wall to the drain center and confirms the toilet matches it. The flange is checked for cracks, firm mounting, and height against the finished floor. The scope of the installation is confirmed with you before any work starts, including any flange correction the check turns up.
Step 3 — Testing the shut-off valve and supply
The wall valve is opened and watched before anything connects to it, and the supply line is checked or renewed. A valve that weeps or will not close fully is handled now, while the bathroom is open and dry, rather than after the toilet is full of water.
Step 4 — Setting the toilet on a fresh seal
A new seal goes onto the flange, and the toilet is lowered straight down onto the bolts in one steady motion — no sliding, which would smear the seal. The bolts are snugged evenly, a little at a time on each side, until the toilet sits level with zero rock. The base is checked with a hand push at the rim: still means sealed right.
Step 5 — Tank, seat, and water connection
On two-piece toilets the tank is set and its bolts snugged evenly so it sits straight. The supply line connects with fresh washers, the seat is mounted and aligned, and the water is turned on slowly while every new connection is watched for the first sign of a drip.
Step 6 — Fill level, flush tests, and walkthrough
The tank is set to fill about an inch below the overflow tube. The toilet is flushed several times, including a paper test, and the base and connections are checked dry after the tests. The technician walks you through the flush, the fill sound to expect, and how to shut the water off at the valve if you ever need to.
What to have ready — and where your part ends
An installation goes fastest when the room and the fixture are ready. Here is the part you can own, and the part to hand over.
Getting ready is safe and simple
- Have the new toilet in the home, unboxed, and checked for cracks, chips, or missing tank parts
- Measure the rough-in and confirm it matches the toilet you bought before the visit
- Make sure the finished floor is complete, clean, and fully cured around the flange
- Clear the bathroom and the path in, and decide where packaging and the old fixture, if any, should go
- Have the seat you want fitted on hand, and know whether you want it soft-close
That unboxing check catches the one delay no technician can fix on the spot: a toilet that arrived cracked from shipping. Porcelain damage often hides at the base and trapway, so turn the fixture and look it over in good light when it arrives, not on install day.
Where to stop and let the technician work
- The flange is cracked, loose, rusted, or sits well below the finished floor
- The rough-in you measured does not match the toilet you bought
- The shut-off valve leaks, spins without stopping the water, or is missing entirely
- The floor around the flange is soft, uneven, or still unfinished
- The toilet is heavy, the bathroom is tight, or stairs sit between the door and the room
- Anything about the drain looks off — damage, debris deep in the line, or a strong smell
Setting a toilet looks simple from the doorway, and the steps are simple — for hands that have done the lift, the seal, and the bolt pattern many times. The harm from a small error is hidden: a smeared seal or a low flange does not leak on day one, it leaks in month four, under the floor. If the old toilet is still in place and simply worn out, that job is a swap — see the toilet replacement page for how that visit runs.
Remodel timing: book the install for after the finished floor is complete. If flooring is still in progress when you call, say so — the visit can be set for the right day instead of the toilet going down twice.
Flange height vs finished floor: the detail that decides the seal
Ask a toilet specialist what causes most early base leaks on new installs and the answer is one measurement: where the top of the flange sits compared with the top of the finished floor.
The flange is the ring at the top of the drain that the toilet bolts to and seals against. In a perfect setup, the bottom of the toilet sits flat on the finished floor and the flange face sits right at floor level, a touch above it. The seal between them — wax in most homes, silicone in some — compresses into the small gap and fills it fully. That full, even compression is the entire defense against flush water escaping sideways and drain gas rising into the room.
New construction and remodels disturb that balance in a predictable way. The flange is set during rough plumbing, before the finished floor exists. Then the floor gains layers: backer board, thinset, and tile can add a full inch or more above the surface the plumber measured against. The flange that was perfect on paper now sits low, sunk below the tile. A toilet set on that flange leaves the seal stretched across too tall a gap. It may hold for a while — weeks, even months — and then start the slow base seep that owners discover from a musty smell or a dark ring in the grout.
The fix is simple, but only if it happens before the toilet goes down. The technician measures the flange against the finished floor, and if it sits low, an extender ring brings the flange face up to the right height so the seal can compress the way it was designed to. If the flange sits too high — rarer, but it happens when flooring was removed rather than added — the toilet will rock on the flange instead of resting on the floor, and that gets corrected as well. Either way, the measurement takes minutes and the correction happens while the drain is open and easy to work on.
Fountain Valley remodels hit this often. Homes from the 1960s and 1970s are getting new tile and luxury vinyl floors laid over old surfaces, and each new layer lifts the floor a little further above a flange that has not moved in fifty years. Owners rarely connect the new floor with the toilet that starts seeping a season later — but the two events are the same story. Any installation in a home with fresh flooring deserves the flange-height check as a matter of routine, and it is built into every installation visit described on this page.
Once height, seal, and level are right, the rest of the install is craft: even bolt pressure so the porcelain is never strained, a tank set straight, a fill level set true, and tests that prove it all. That is what ready means on install day — floor finished, fixture checked, measurements known — and it is how a new bathroom starts life with a toilet nobody has to think about again.
Connected services for new bathrooms
Installations pair closely with these services. See every covered neighborhood on our areas we serve page.
Toilet Replacement
Old toilet still in place and worn out? That swap has its own visit pattern.
See toilet replacement →Flange Repair
Cracked, low, or rusted flanges: how they are repaired or brought to the right height.
See flange repair →Bidet Installation
Adding a bidet seat or attachment during a new install is the easiest time to do it.
See bidet installation →Guide: How to Shut Off Water to a Toilet
Every homeowner should know the valve behind the toilet. This guide shows it plainly.
Read the guide →Toilet installation questions, answered plainly
What is included in a toilet installation visit?
A toilet installation visit includes checking the flange and rough-in, setting the toilet on a fresh seal, bolting it down level, connecting the supply line, fitting the tank and seat, and filling the tank to the right level. The scope of the toilet installation is confirmed with you before any work starts. The visit ends with repeat flush tests and a dry check of the base and every connection.
How is a toilet installation different in a newly built bathroom?
In a newly built bathroom, a toilet installation starts with bare plumbing: the flange may still be capped, the floor finish is fresh, and the shut-off valve has never been used. The technician checks flange height against the new finished floor and confirms the rough-in before the toilet is set. In a remodel, the same checks apply, plus a close look at what the old floor and flange went through.
Why does flange height matter for a toilet installation?
For a toilet installation, the flange should sit level with or just above the finished floor so the seal compresses evenly. A flange that sits too low after new tile or flooring goes down lets the seal gap, and the toilet will leak at the base or rock. The technician measures the flange against the finished floor during the toilet installation and corrects the height before the toilet goes on.
What should I have ready before a toilet installation?
Before a toilet installation, have the new toilet in the home and checked for cracks or missing parts, the bathroom floor finished and clean, and the path from the door cleared. Know your rough-in size if you have measured it, and have the seat you want fitted ready as well. Sharing the bathroom layout and floor type on the call helps the toilet installation finish in one visit.
Can a toilet installation be done during a remodel without moving plumbing?
Yes, in most remodels a toilet installation uses the drain and supply exactly where they are, as long as the new toilet matches the existing rough-in. Trouble only starts when the new toilet needs a different rough-in or the flange turns out to be damaged or at the wrong height. The technician checks both at the start of the toilet installation, so any change is known before the toilet is set.
How is the toilet tested at the end of a toilet installation?
At the end of a toilet installation, the tank is filled to its line and the toilet is flushed several times, including a flush with a normal amount of paper. The base, the supply connection, and the tank fittings are checked dry after the tests, and the fill valve is watched until it shuts off cleanly. A toilet installation is not finished until every one of those checks passes.
New bathroom ready for its toilet?
Call during open hours — Mon–Fri 7:00 AM–10:00 PM, Sat 8:00 AM–10:00 PM, Sun 7:00 AM–9:00 PM — and one call connects you with a local toilet specialist in Fountain Valley.
📞 Call Now — (714) 410-0362 Prefer email? [email protected]