TL;DR
Problem: After a flush, your tank fills slowly, stops below the waterline, or does not fill at all — so the next flush is weak or missing.
Solution: Work in order: confirm the wall supply valve is fully open, check that the float moves freely and sits at the right height, then clear debris from the fill valve cap and test again.
When to call: Call a local specialist if the wall valve is stuck or weeping, the fill valve does not respond, or the tank drains as fast as it fills. Call (714) 410-0362 during open hours.
In this guide
You flush, the bowl clears — and then nothing. Or the tank fills at a trickle that takes ten minutes. Or it fills halfway and stops, leaving the next flush too weak to clear the bowl. A tank that will not fill is one of the most common toilet complaints in Fountain Valley homes, and one of the most fixable, because the fill system has only a few moving parts and each one fails in a visible way. The key is to check them in the right order, from the wall inward, instead of swapping parts at random.
This guide explains how the fill cycle works, then walks through the checks in order: supply valve, float, fill valve, and the debris flush that clears most slow fills. It also covers the two faults that mimic a fill problem — a leaking flapper and a chain fault — so you do not replace a healthy fill valve when the water was leaving through the bottom of the tank the whole time.
How a tank fill cycle works
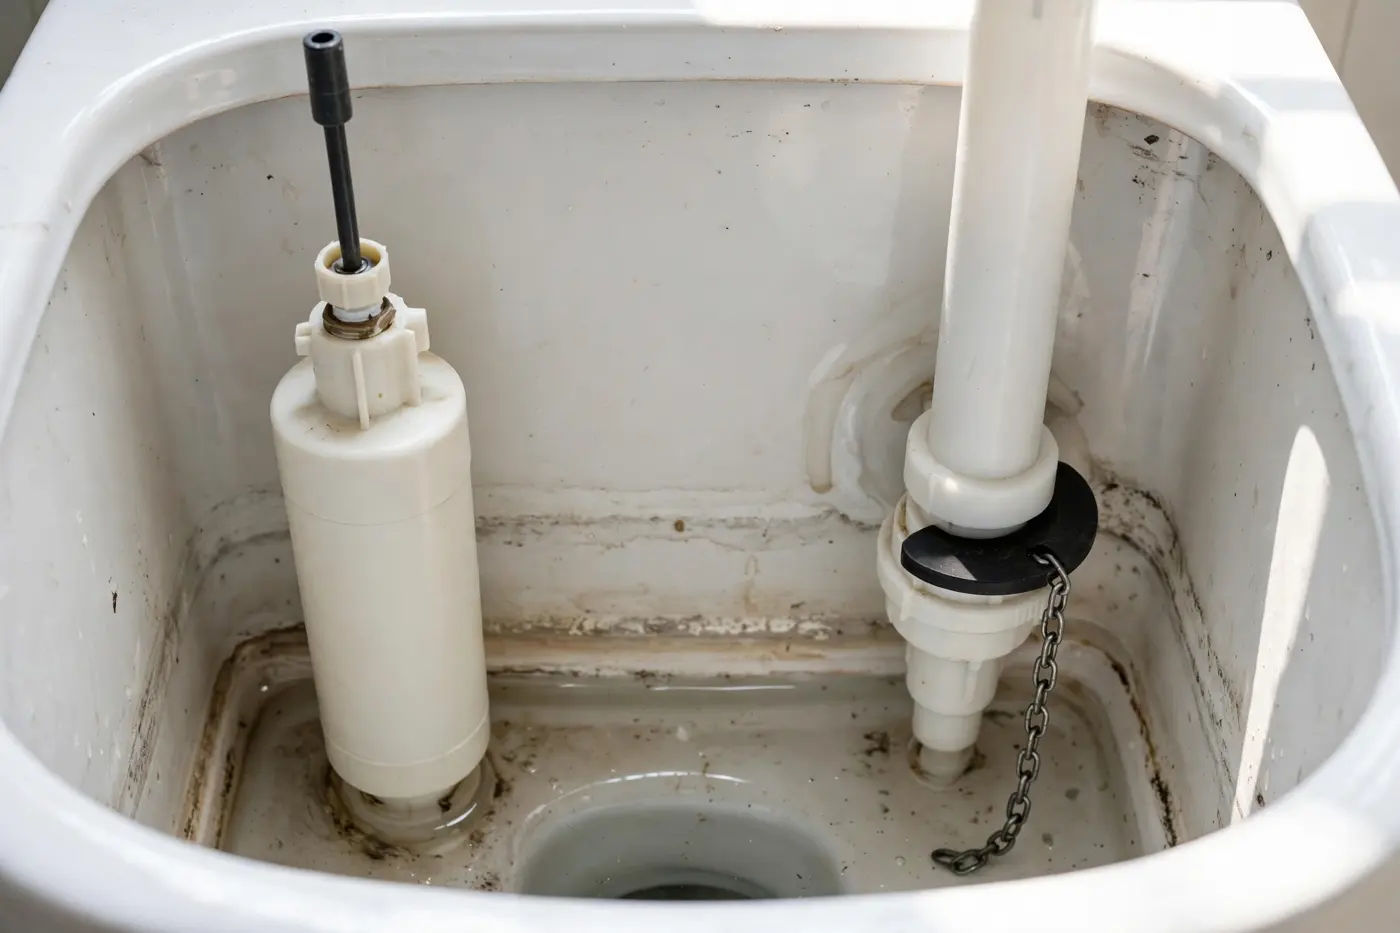
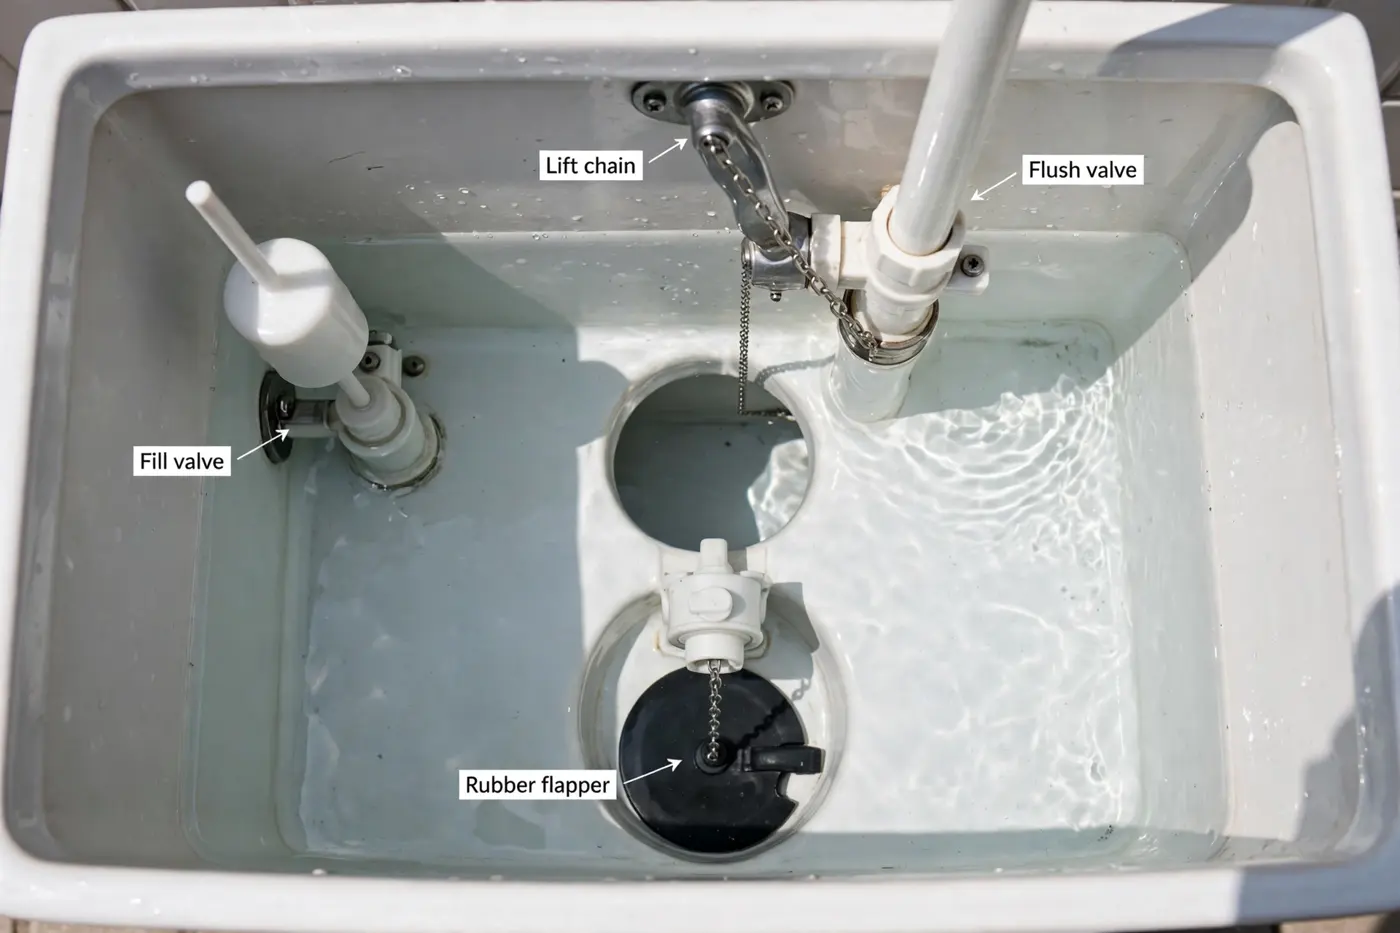
Water enters through the wall supply valve, travels up the supply line into the bottom of the fill valve, and the fill valve lets it into the tank. A float rides on the rising water. When the water reaches the set level, the float shuts the fill valve off. During the fill, a small refill tube also sends some water down the overflow tube to top up the bowl. Every fault in this guide sits somewhere on that path: water blocked at the wall, water blocked inside the fill valve, a float that shuts the valve too early or never lets it open, or water leaving the tank through the flush valve as fast as it arrives.
Step-by-step checks when a tank won't fill
Confirm the wall supply valve is fully open
Find the oval or round handle on the wall or floor behind the toilet. Turn it counter-clockwise until it stops. Valves get bumped during cleaning or partly closed during past work and never reopened. Flush and watch. If the fill is now strong, the job is done. If the handle spins without resistance or will not turn at all, note that — a failed wall valve is a call-a-technician item, covered in our shut-off valve guide.
Remove the lid and watch one full fill
Set the lid flat on a towel. Flush and watch the tank. Does water flow at all? Does the float rise? Does the refill tube send water down the overflow tube? Watching one cycle tells you where the path breaks. No flow at all points to the supply or the fill valve inlet. Flow that stops early points to the float. Flow that never ends points to a leak out of the tank.
Lift and lower the float by hand
With water in the tank, lift the float gently. The fill flow should stop. Lower it, and flow should start again. If lifting and lowering changes nothing, the float linkage may be disconnected or the fill valve may be stuck shut. Check that a cup float is not wedged against the tank wall or the overflow tube, and that an arm float has not bent down so far that it sits below its shut-off point at rest.
Shut the water off and flush the fill valve cap
Turn the wall valve off. Hold a cup over the top of the fill valve, remove its cap — most caps twist or unclip by hand — and check the seal inside for grit. Then, with the cup held over the open valve to catch spray, crack the wall valve open for a few seconds to flush debris out of the line and valve body. Close the valve, reseat the seal, refit the cap, and turn the water back on. This single step clears a large share of slow and no-fill faults.
Test the fill and set the level
Flush and time the fill by feel: a healthy fill is steady and finishes without dragging on. Watch the level stop about an inch below the top of the overflow tube, or right at the waterline mark molded inside the tank. Adjust the float if the level stops low or runs high — the next section explains how for both float styles.
Rule out water leaving through the bottom
If the tank fills but the level keeps dropping, or the fill valve cycles on briefly every few minutes, water is leaving through the flush valve. Add food coloring to the tank and wait twenty minutes without flushing. Color in the bowl confirms a flapper or valve seat leak. That fault is covered step by step in our flapper replacement guide.
Float height and water level
The float sets the water level, and the water level sets flush strength. Too low, and there is not enough water in the tank to clear the bowl — people often misread that weak flush as a clog. Too high, and water spills down the overflow tube nonstop, which wastes water and can sound like a fill fault because the valve never fully rests.
On a cup float, the float slides on the fill valve shaft. Squeeze the spring clip on its side and slide the cup up to raise the level or down to lower it, in small moves, flushing between adjustments. On an arm-and-ball float, the arm bends gently — support it with one hand while you adjust with the other so the stress does not land on the valve body. Make small changes. A quarter inch of float movement can shift the level more than you expect, and overshooting into overflow wastes the whole adjustment cycle.
Debris and mineral scale in the fill valve
Fountain Valley water is mineral-heavy, and grit travels too — after street work, after a water heater swap, or as old supply lines shed particles inside. The fill valve inlet is a narrow passage, so it catches that debris first. Symptoms build slowly: fills get longer over months, then one day the valve barely passes water. The cap flush in the steps above clears loose grit. What it cannot clear is scale that has hardened inside the valve body or a seal that has gone stiff and swollen. If a cap flush restores flow for a week and the problem returns, the valve internals are wearing, and replacement of the fill valve is the durable fix rather than repeat flushing.
Problems that look like a fill problem
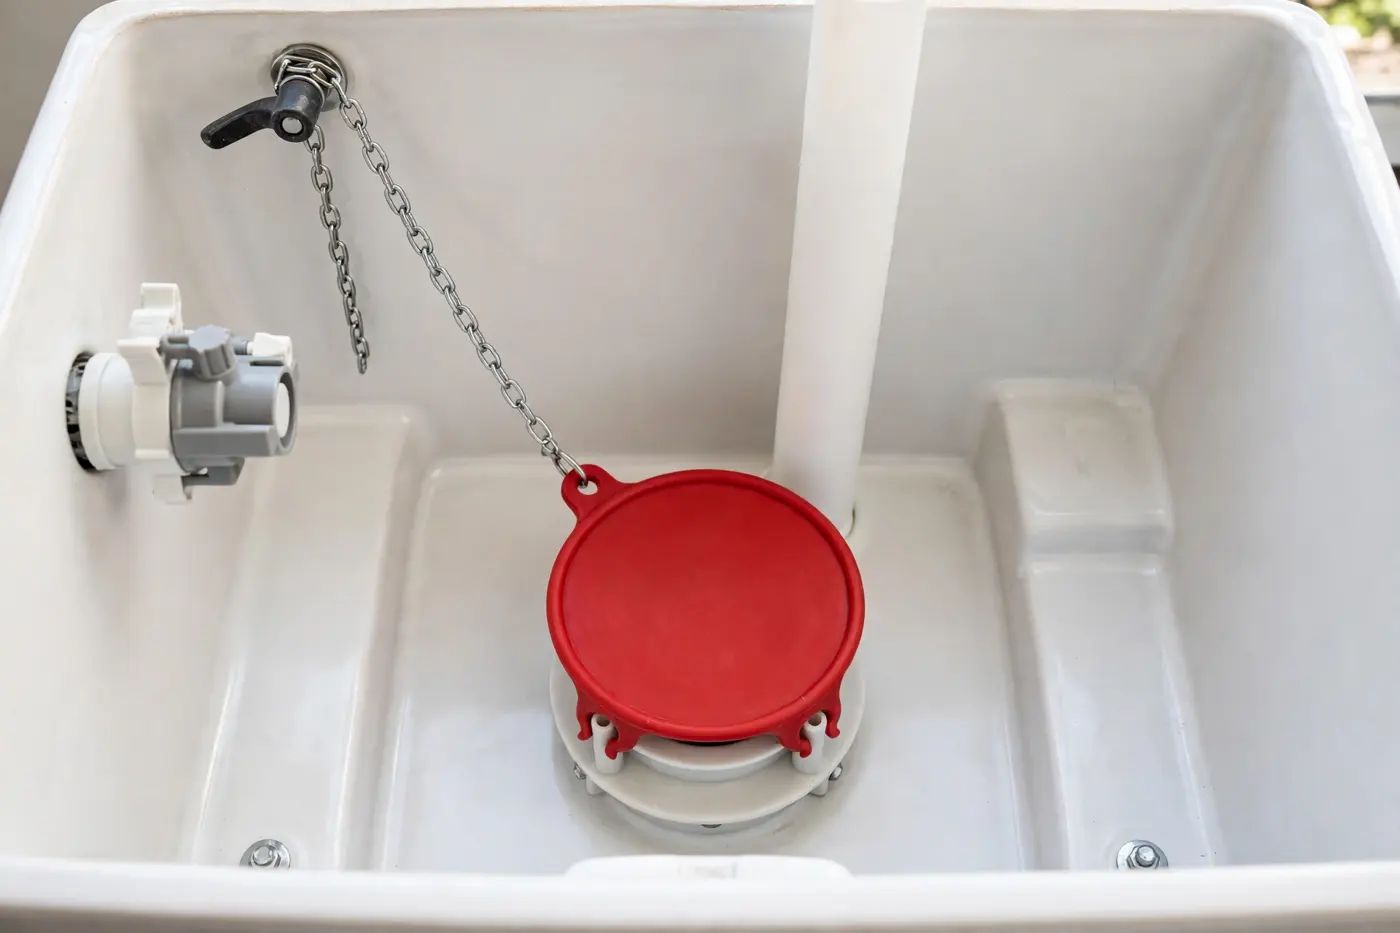
Three faults wear a fill problem's clothes. First, the leaking flapper described above: the tank can never win the race, so it looks like it will not fill. Second, a kinked or partly crushed supply line behind the toilet starves the valve even with the wall valve open — look behind the bowl if a remodel or a bump could have moved the line. Third, a refill tube that has slipped off the overflow tube sends bowl-refill water into odd places and can siphon in ways that confuse the cycle; the tube should clip to the overflow tube and point down into it.
Stop point: if the wall valve will not turn, weeps at its stem when moved, or the fill valve stays dead after the cap flush, the next step is parts work at the wall and in the tank. That is the point to call for fill and flush valve service rather than forcing a valve that could start a leak behind the toilet. Coverage details are on the areas we serve page.
Preventing the next slow fill
Once the tank fills properly again, a few habits keep it that way. Exercise the wall supply valve twice a year — close it, flush, reopen it — so it stays willing to move and any grit at its seat gets washed through on your schedule rather than during a repair. If your home has a whole-house filter or softener, stay current with its upkeep, because a clogged filter upstream starves every fixture and the toilet fill valve, with its narrow inlet, complains first. After any plumbing work elsewhere in the house — a water heater swap, a line repair — expect a small wave of loosened sediment to travel, and do not be surprised if a fill valve needs one cap flush in the week that follows; that is the system clearing itself, not a new failure.
Pay attention to how the fault developed. A fill that weakened slowly over months is wear and scale, and it will return on the same timeline unless the valve is renewed. A fill that failed in a day is an event — debris, a stuck float, a bumped valve — and once cleared it usually stays cleared. Telling a technician which pattern you saw, fast or slow, points the visit at the right part from the start and keeps a healthy valve from being swapped on suspicion alone.
Questions about a toilet tank that won't fill
Why does my toilet tank fill very slowly?
Slow filling usually means the supply valve is partly closed, the fill valve inlet is clogged with grit or mineral scale, or the fill valve itself is worn. Open the wall valve fully first, then check whether lifting the float by hand changes the flow. In Fountain Valley, mineral buildup inside the fill valve cap is a common cause and often shows up first as a long, weak refill after each flush.
Why does my toilet tank stop filling below the waterline mark?
The float is shutting the fill valve off early. On cup-style floats, squeeze the clip on the float and slide it up the rod a small amount, then flush and check the level again. On arm-and-ball floats, the arm can be raised slightly. The target level is about an inch below the top of the overflow tube, or at the marked waterline inside the tank.
Can a toilet tank that won't fill be a flapper problem instead?
Yes. If the flapper leaks, the tank drains into the bowl as fast as it fills, so the level never rises and the fill valve never shuts off. Watch the bowl during a fill — rippling water in the bowl while the tank is trying to fill points to the flapper or flush valve seat rather than the fill valve itself.
What does it mean when my toilet tank fills only when I jiggle the handle?
Jiggling works because it moves the chain and flapper, or nudges a sticking float. A chain that catches under the flapper, a float that rubs the tank wall, or a float arm that sticks at its pivot can all pause a fill until something moves. Watch one full cycle with the lid off to see which part hesitates, and fix that part rather than the handle itself.
When should I call about a toilet tank that won't fill?
Call when the fill valve does not respond to float or valve checks, when the wall supply valve is stuck or leaks at its stem, or when the tank still will not hold a level after the flapper checks out. A technician tests supply flow at the wall first, then the fill valve and float as a set, and the scope is confirmed with you before any work starts.
Also read
- How to Replace a Toilet Flapper in 15 Minutes
- How to Shut Off Water to a Toilet (and Replace the Valve)
- Fill Valve & Flapper Replacement in Fountain Valley
- Running Toilet Repair in Fountain Valley
- Supply Line & Shut-Off Valve Replacement in Fountain Valley
- Areas We Serve — Fountain Valley & Nearby Cities